As an Amazon Associate I earn from qualifying purchases.
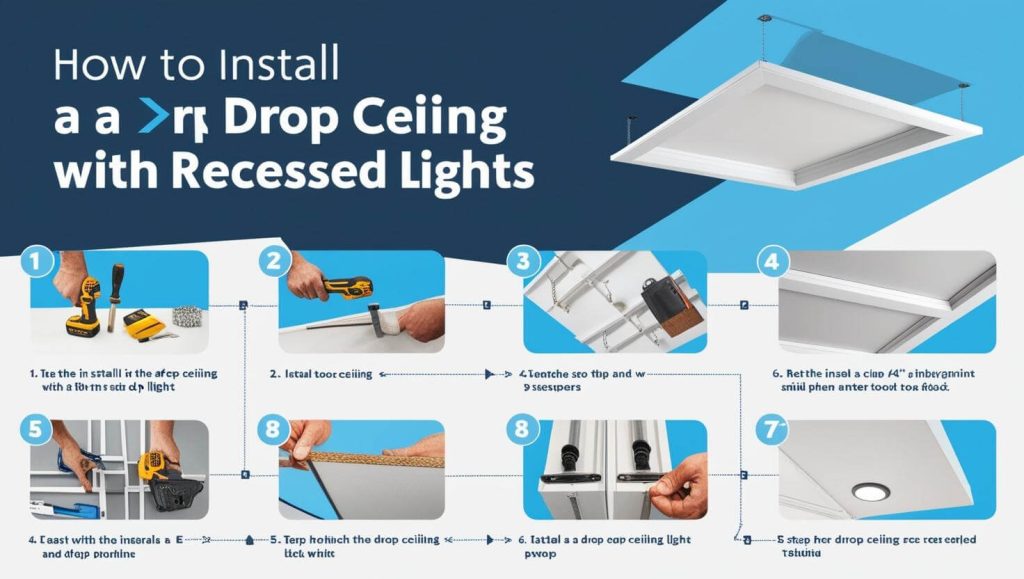
How to install a drop ceiling with recessed lights can dramatically enhance the aesthetics and functionality of any room. This guide will walk you through the step-by-step process to complete this project with professional results. By following these instructions, you can achieve a polished, well-lit space that meets your needs.
Introduction
Are you wondering how to install a drop ceiling with recessed lights to transform your space into a sleek and functional area? Whether it’s for a basement, office, or living room, a drop ceiling with built-in recessed lighting can elevate the look and feel of any room. Let’s dive into the basics and see how easily you can achieve this professional touch.
Installing a drop ceiling with recessed lights involves selecting the right materials, assembling the grid system, and wiring the recessed lights securely. This guide will walk you through every step, from measuring and planning to mounting the lights and ensuring everything is properly connected for a flawless finish. By following these straightforward instructions, you’ll achieve a polished and practical ceiling setup.
Ready to enhance your space with modern lighting and a clean ceiling design? Don’t miss insights from experts like Bob Vila, who stress the importance of careful planning and precision in such projects. So, let’s get started on transforming your room into a stunning masterpiece!
What Is a Drop Ceiling?
A drop ceiling, also known as a suspended ceiling, consists of a grid system that holds lightweight panels. It’s an excellent way to hide ductwork, wires, or uneven ceilings while adding a polished look to your space.
Recessed lights, often referred to as can lights, are installed within the ceiling panels to provide sleek and modern illumination. Together, these elements create a clean and functional design.
Tools and Materials Needed
Before starting, gather the following tools and materials:
Tools:
- Measuring tape
- Level
- Drill and screws
- Tin snips
- Utility knife
- Wire cutter/stripper
- Ladder
Materials:
- Ceiling grid kit
- Ceiling panels
- Recessed light fixtures
- Electrical wiring
- Junction boxes
- Screws and anchors
Having everything on hand will save you time and frustration later.
Planning and Preparation
Measure the Room
Start by measuring the dimensions of the room to determine how much material you will need. Account for the spacing of the recessed lights and grid layout. Create a scaled diagram to plan the placement of tiles and light fixtures.
Locate Ceiling Joists
Use a stud finder to locate the ceiling joists. Mark their positions as they will support the weight of the drop ceiling and recessed lights.
Turn Off Electrical Power
Ensure safety by shutting off power to the area where you’ll install the recessed lights.
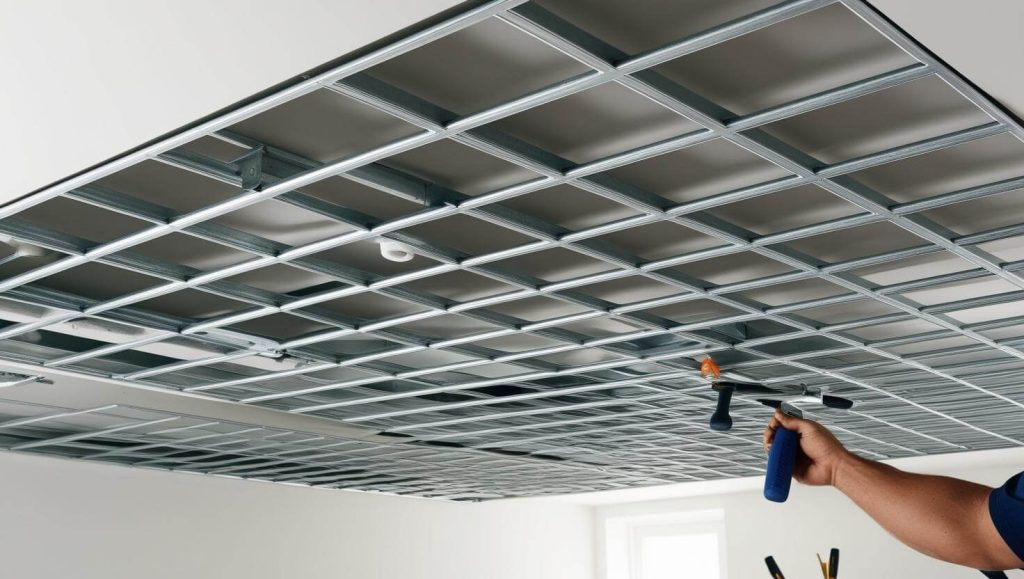
Installing the Drop Ceiling Grid System
Mark the Perimeter
Using a chalk line, mark the perimeter of the room at the height where the drop ceiling will be installed. Ensure it is level by using a spirit level.
Install Wall Angles
Attach the wall angles to the marked perimeter using screws or toggle bolts. These angles will support the edges of the ceiling grid.
Install Main Tees
Hang the main tees perpendicular to the joists using support wires. Secure the wires to the joists and ensure the main tees are level.
Add Cross Tees
Connect the cross tees between the main tees to form a grid. The spacing should match the size of your ceiling tiles, typically 2’x2’ or 2’x4’.
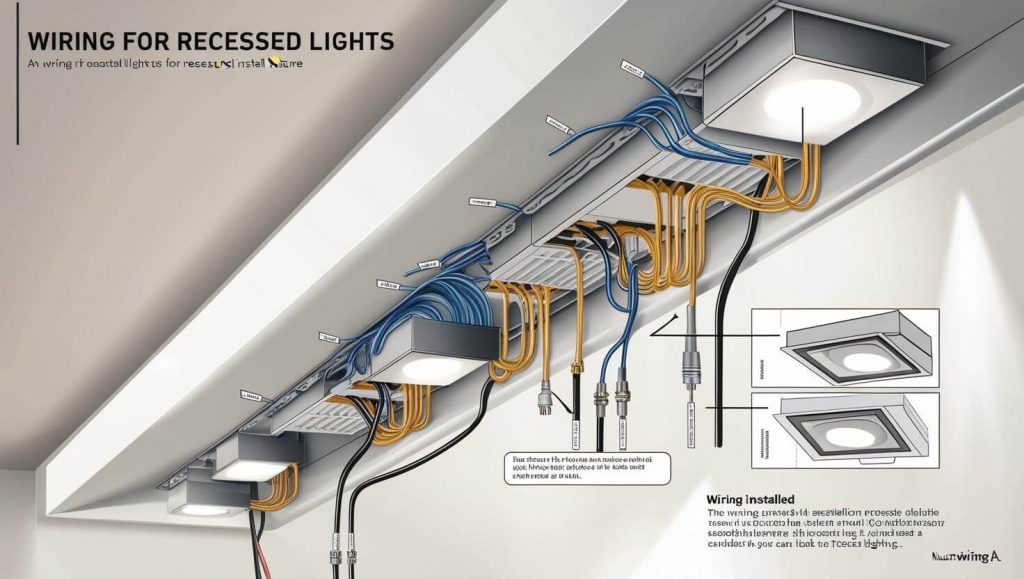
Wiring for Recessed Lights
Plan Light Placement
Refer to your diagram to determine the precise locations for the recessed lights. Mark these spots on the ceiling tiles.
Run Electrical Wires
Run electrical wires from the junction box to each light fixture location. Use fish tape to guide wires through the ceiling space.
Install Junction Boxes
Secure junction boxes near each light fixture’s location. Ensure they are accessible and comply with electrical codes.
Cutting Ceiling Panels

Use a utility knife or tin snips to cut the ceiling panels to size. Make precise cuts around openings for the recessed light fixtures. This ensures a snug fit and a clean look.
Installing Recessed Light Fixtures

Cut Openings in Ceiling Tiles
Using the recessed light template provided by the manufacturer, cut openings in the ceiling tiles with a utility knife. Ensure the cuts are precise to avoid gaps.
Install Light Fixtures
Place the recessed light fixtures into the cut openings. Secure them using the clips or brackets provided. Connect the electrical wires following the manufacturer’s instructions. Typically, this involves matching wire colors (black to black, white to white, and green or bare to ground).
Attach Trim and Bulbs
Once the fixtures are secured and wired, attach the trim and install the bulbs. Use energy-efficient LED bulbs for optimal performance and longevity.
Installing Ceiling Tiles

Insert Full-Sized Tiles
Begin by inserting the full-sized tiles into the grid. Tilt the tiles slightly to fit them into place.
Cut and Fit Edge Tiles
Measure and cut tiles to fit along the edges of the room. Use a utility knife for clean cuts. Insert these tiles into the grid.
Testing and Final Adjustments
Test the Lights
Turn the power back on and test the recessed lights. Ensure all fixtures function correctly.
Adjust the Grid
Check that the grid is level and make any necessary adjustments. Tighten or loosen support wires to achieve a uniform appearance.
Inspect the Installation
Inspect the entire installation to ensure it meets your expectations and complies with local building codes.
Final Touches
install the remaining ceiling panels into the grid. Adjust any misaligned sections and ensure the lights are functioning correctly. Clean up the workspace and admire your work!
Safety Tips
- Always wear safety glasses and gloves.
- Use a sturdy ladder and avoid overreaching.
- Ensure all electrical work complies with local codes.
Common Mistakes to Avoid
- Incorrect measurements can lead to wasted materials.
- Skipping alignment checks can result in a crooked ceiling.
- Overloading the grid can compromise structural integrity.
Maintenance and Troubleshooting
Maintenance:
- Dust the panels regularly.
- Check lights for flickering or dimming.
Troubleshooting:
- If a light isn’t working, check the bulb and wiring.
- Replace damaged panels promptly.
Benefits of a Drop Ceiling with Recessed Lights
- Aesthetic Appeal: Creates a sleek, modern look.
- Functional Lighting: Provides even illumination without bulky fixtures.
- Flexibility: Easy to access utilities hidden above the ceiling.
Tips for Success
- Work with a Partner: Installing a drop ceiling is easier with two people, especially when handling large tiles and main tees.
- Double-Check Measurements: Accurate measurements are critical for a seamless installation.
- Follow Electrical Codes: Always adhere to local electrical codes when installing wiring and light fixtures.
Conclusion
How to install a drop ceiling with recessed lights is a rewarding DIY project that can transform your space. By following these steps and planning carefully, you’ll achieve professional-looking results. Whether for aesthetic or functional purposes, this upgrade is worth the effort.
FAQs
Drop ceilings hide unsightly wiring, and recessed lights provide clean, modern illumination.
Yes, with proper tools and guidance, most homeowners can tackle this project. However, consult an electrician for wiring if needed.
Depending on the room size and your experience, it can take 1–2 days.
Yes, with basic electrical knowledge and the right tools, it’s a manageable DIY task.
Check the bulb and wiring connections. Replace faulty components if necessary.
Clean tiles with a damp cloth and dust the light fixtures regularly.
You typically need at least 4 inches of clearance from the existing ceiling.
Yes, especially if you use LED bulbs, which consume less energy and last longer.
Use shims or adjustable brackets to level the grid system.
Yes, adding insulation can improve soundproofing and energy efficiency.
Amazon and the Amazon logo are trademarks of Amazon.com, Inc, or its affiliates.